


Features
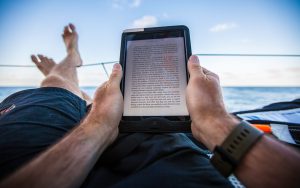
Best sailing books: Immerse yourself in one of these 10 sailing novels
From spy thrillers and historical novels to childhood classics, escape with one of these 10 sailing books. How many have you read? Let us know your recommendations!

Top 10 must-see sailing documentaries
From Deep Water to Maidentrip, these must-see sailing documentaries will keep you glued to the screen. Watch the trailers here

Top 10 best boat-themed films of the 1980s
In no particular order, we've pulled together some of the best sailing and boat-themed films of the 1980s. Vote, and let us know which one is your favourite!

10 Top innovations in the history of sailing
From celestial navigation to GPS technology, these sailing innovations have changed the way we take to the sea. And we couldn't do without them.

7 Tips for avoiding damage to your yacht
Follow these seven tips to avoid and minimise damage to your boat
10 New Year’s resolutions for boaters
At the end of each year, most of us have a list of resolutions which get promptly shelved as soon as the new year starts. These 10 New Year's resolutions…

Top 10 most popular news stories of 2018
Mark Zuckerberg's new yacht rumours, Tracy Edwards' Maiden restored and a new self-docking system is unveiled: see all of YBW's top news stories of 2018

A sailor walks into a bar…jokes to keep you laughing
Keep everyone entertained with our updated compilation of the best nautical jokes around..they're guaranteed side splitters!

8 Tips to prepare your narrowboat for winter
It’s that time of year when many narrowboaters moor their vessels and hang up their boating shoes for Christmas. However, planning is essential before leaving your boat in the water…

Christmas gift ideas for boaters and sailors
From sailing books, handy gadgets to beautiful objects we have plenty of Christmas gift ideas for the boaters in your life

Best sailing apps: top apps for sailors and boaters
These days there are some truly fantastic apps for sailors and boaters. From weather and tides forecast, route planners and marine traffic, to knot guides and real time language translation,…

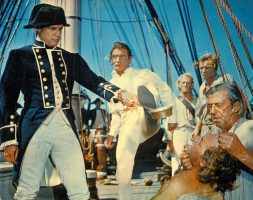
10 Actors who’ve played real life sailors and explorers
Sailing films have been popular this year, with The Mercy and Adrift hitting the cinema screen. We take a look at 10 actors who have played real life sailors, explorers,…

Anchoring: Tips and Tricks
Anchoring can be daunting, but once achieved can make for some of the most relaxing trips on board. Read our simple guide to anchoring for some useful tips
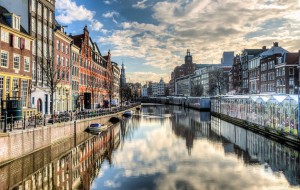
Inland cruising tips: Exploring the UK and Europe’s canals
Inland cruising offers a beautiful and peaceful alternative to coastal cruising

What’s in a boat’s name? The inspiration behind naming a vessel
Colours, weather, music and even films and TV programmes are all popular when it comes to boat names, but there are certainly a few surprising ones too...

10 Most common boat insurance claims
As a boat owner, the last thing on your mind when you set sail is that you might need to make an insurance claim. Here's how to prepare for the…
Best cult boat films ever
Whether the boat is as much a protagonist as the actors in the film, such as in African Queen, or some of the most memorable scenes take place on it,…
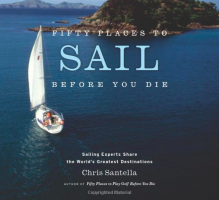
Books on sailing: 5 must-read sailing adventure books
From the world's finest yachtsmen's most inspiring adventures, the history of sailing, the most beautiful places sail to, to grisly tales of pirates' debauchery, these five books will keep you…
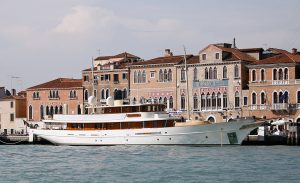
10 Most stunning celebrity superyachts: Luxury knows no boundaries
When it comes to comfort at sea, celebrities spare no expenses on their boats and sometimes their superyachts are so striking and luxurious, they become stars in their own right

Top 10 boat names for 2018 revealed
The Boat Owners Association of The United States (BoatUS) have unveiled the most popular boat names for 2018. Has the name of your craft made the list?